If you’re a biology major, then you know it’s a scientific field that is vast and full of opportunities. So much so, that it can also be overwhelming if you don’t have a pre-determined focus.Biology (from the Greek words “bios” for life and “logos” for study) is the study of all living organisms, ranging from the smallest, single-celled organisms to super-complex human beings. It’s an overarching science, but within it are individual branches of biology — each with its own unique focus.
The Branches Of Biology
Biological science is classified into the following four main branches of biology:
- Subdivisions based on their approaches of study
- Medical sciences
- Agricultural sciences
- Biological science based on organisms
Each discipline has its own experts, its own courses of study and its own professional opportunities. Knowing which one of these branches of biology you want to specialize in will give you a leg up as you enter college, because you’ll be able to take specialized classes designed to maximize your potential and future opportunities.Here, at Biology Junction, we’ve put together a list of scientific specialties available for study within those four main branches of biology. Read the individual listings under each of the branches of biology to discover which might be a perfect fit for your interests.
Subdivisions Based On Approach Of Study
Branches of biology that focus on specific biological processes, such as the interaction either between different organisms or within a single organism’s biological functions, include:
Anatomy
Anatomy is the study of the inner workings of organisms, specifically focusing on the physical structures and organs of plants and animals. It further subdivides into even more specific branches of biology, including morphology (the study of form and structure), histology (the study of the fine details of biological cells observed via microscopes), cytology (the study of function of plant and animal cells) and physiology (the study of the functions and activities of living organisms).
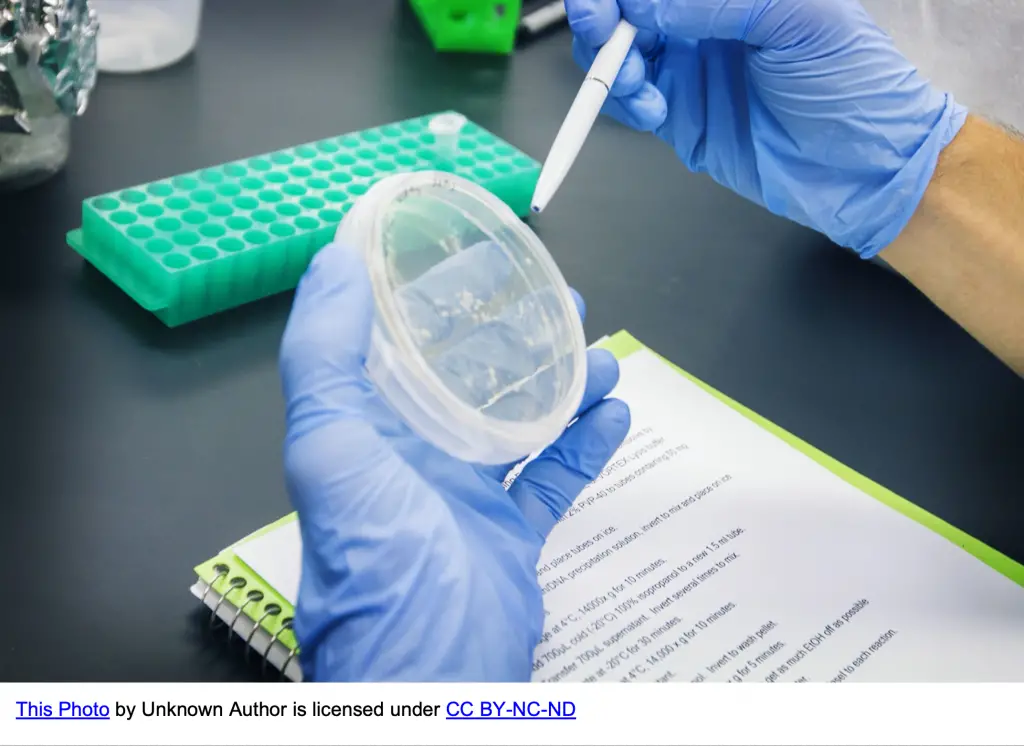
Biochemistry
Biochemistry is the study of natural chemical reactions and processes that take place inside biological organisms and how to affect them. Biochemistry is a field valuable for work in the pharmaceutical industry, because it is helpful in the development of new drugs.
Biogeography
This is the study of the way various species and ecosystems are distributed in different regions of the world through time and structural evolution.
Biogeology
This is the study of the relationship between Earth’s biosphere (the surface area occupied by living organisms) and its lithosphere (the outer surface of the earth including the crust and outer mantle).
Ecology
Ecology focuses on the interactions between Earth’s organisms and their natural environment.
Embryology
Embryology examines the development of the embryo/fetus from the earliest stages through the birth process.
Eugenics
This is the study of how to improve the natural strengths of humanity through genetic selection. Although its primary aim today is to remove genetic disorders from the population, the field is controversial and mostly defunct due to its close association with racism. The remaining elements have been folded in with the study of genetics.
Evolution
Evolution is the study of the gradual changes in plants, animals and other life forms over the life cycle of Earth. It focuses primarily on the process of natural selection.
Genetics
This is the branch of biology focused on heredity and natural biological variations between generations. It focuses on the changes in the genetic code based on the combination of genes.
Immunology
This is a discipline that keys in on immune systems and how to improve those natural defenses against infection within humans, animals and other organisms.
Paleontology
Paleontology is the study of plant and animal fossils to observe the similarities and differences with modern life. It focuses heavily on extinct life forms such as dinosaurs and megafauna.
Parasitology
Among the branches of biology is parasitology, which focuses on parasitic life forms, or organisms that live on or inside other life forms taking their nourishment from their hosts.
Pathology
Pathology focuses on diseases caused by bacteria, viruses or fungi and their effect on the host plant or animal. This overlaps some with parasitology, due to the parasitic nature of many disease-causing organisms. It is a field that leads to careers in the medical profession with its focus on treating rare diseases.
Taxonomy
Taxonomy is the study of classifications, determining the names, groups and subcategories of plants, animals and other organisms. It centers on finding both the similarities and differences between species. This discipline is also known as “systematics.”
Medical Sciences
This is the field of biology devoted to human biological processes and how to improve health. It focuses on curing diseases, repairing injuries and solving rare conditions. Most fields focus on humans exclusively, but some expand to the health and treatment of animals,
Cardiology
Cardiology is a medical science that focuses on diseases and disorders of the heart. This includes both congenital birth defects and acquired heart diseases caused by heart congestion. Many cardiology specialists become cardio-thoracic surgeons who specialize in open-heart surgery and transplants.
Dentistry
This branch of medical science focuses people’s mouths. Dentists diagnose and treat diseases and disorders of the teeth and gums, as well as develop preventative methods to help people avoid the ill effects of tooth decay and gum disease before they happen.
Dermatology
Dermatology is the medical science that focuses on diagnosing and treating conditions of the skin. These common disorders also affect the hair and nails, which are also treated by dermatologists.
Gynecology and Obstetrics
Gynecology and obstetrics are medical sciences that deal with the female reproductive system, with gynecology focusing on caring for the reproductive health of women before they become pregnant and obstetrics focusing on caring for pregnant women and their unborn children.
Nephrology
This branch of medical science deals with diseases and disorders of the kidney. Nephrologists often treat patients who have issues with their kidneys and they also conduct kidney transplants and post-transplant care.
Oncology
This is the branch of medical science that researches, diagnoses and treats various forms of cancers. There are many subdivisions focusing on specific types of cancer such as neuro-oncology, which studies and treats tricky cancers of the brain.
Ophthalmology
Ophthalmology is a medical science dealing with the anatomy and physiology of the eyeball and orbit. It specializes in treating vision disorders related to genetics, injury, age or disease. The most common area of ophthalmology involves diagnosing minor eye disorders and prescribing corrective eyewear.
Orthopedics
This medical science is devoted to the musculoskeletal system, which includes bones, joints, muscles, ligaments, tendons and nerves. It primarily focuses on the diagnoses and treatment of injuries and disorders, with specialized divisions focusing on prevention and rehabilitation.
Pediatrics
Pediatrics is a medical science that focuses on the general medical care of infants, children and adolescents. Many subdivisions have pediatric specialists, such as dentistry and oncology, as the medical needs of the young can differ.
Physiotheraphy
This branch of medicine focuses on the science of movement and helps people to rehabilitate after injuries or to maintain physical strength or balance while suffering chronic conditions. The goal of physiotherapy is to help people restore their physical strength and range of motion by addressing underlying issues and overall physical and emotional well-being. There are several subdivisions of physiotherapy that focus on rehabilitation from specific conditions, including traumatic brain injuries, spinal cord injuries and amputations.
Urology
Urology is a medical science that focuses on treating conditions of the male and female urinary tract. It also focuses on diagnosing and treating disorders of the male reproductive system and often crosses over with fertility.
Agricultural Sciences
These are the branches of biology devoted to human interaction with their environment, particularly where it relates to harvesting plants or raising livestock for consumption.
Agriculture
This is the agricultural science branch focusing on raising crops and livestock. Also known as farm science or ag science, it opens the doors to careers in food science and production.
Animal Husbandry
This branch of agriculture focuses on the breeding and raising of domestic animals like cows, pigs, goats, and sheep, as well as their use for meat, fabric, dairy and eggs. It is the most common agricultural science used by farmers.
Biomedical Engineering
Biomedical engineers work with doctors and therapists to develop the tools they do for their job. The biomedical engineer uses their knowledge of the biological process to design the instruments in a way that will not interfere with human health or cause side effects.
Biometrics
Biomedical engineers work with doctors and therapists to develop the tools they do for their job. The biomedical engineer uses their knowledge of the biological process to design the instruments in a way that will not interfere with human health or cause side effects.
Biotechnology
This field focuses on the interaction between the human body and function and artificial products designed to improve human quality of life. A subdivision, bioengineering, focuses on the development of prosthetics, joint replacements, pacemakers, and artificial organs.
Cloning
This field of research involves using DNA from an organism to create genetic duplicates. Research currently focuses on animals and is highly controversial, with research into human cloning outlawed in most locations.
Forensic Science
Similar to biometrics, this division uses genetic markers such as DNA and fingerprints in the service of criminal justice. It focuses on the identification and evaluation of physical evidence and suspects.
Horticulture
This is the field of agricultural science specializing in the science of producing and developing plants for human use. This includes fruits, vegetables, flowers, and decorative plants. The field involves the study of the biological processes of plants and the art of evolving them for speedy development and shelf-stability.
Marine Biology
This field of science specializes in marine organisms and their interactions with humans, other marine animals, and their environment. Those interested in aquaculture or ocean preservation often go into this field.
Molecular Biology
Among the branches of biology, this one focuses on biological activity in individual molecules. Molecular biologists regularly have training in genetics and biochemistry.
Nuclear Biology
This is the field of science that focuses on the interaction of radioactivity with human cells and how to counter the diseases and deterioration that radiation exposure causes.
Pisciculture
This is the study of the domestic rearing of fish as a food source, also known as aquaculture. Specialists in pisciculture focus on the behavior and survival rates of fish in artificial habitats for farming, and provide much of the fish for domestic consumption as the supply of fresh-caught fish diminishes.
Sericulture
This is the study of and raising of silkworms for their raw silk production.
Space Biology
A newer branch of biology, it focuses on the impact of zero gravity and space travel on living organisms. These scientists work with NASA and have tested on both plant and animal life-forms.
Tissue Culture
This biological research field takes fragments of tissue from plant or animal organisms to study in artificial environments for research and experimentation.
Veterinary Science
This branch is a hybrid of agricultural and medical science, focusing on the diagnosis and treatment of injuries and illnesses in domestic animals. There are veterinary specialists for both domestic animals/pets and livestock.
Science Based On Organisms
This division focuses on the study of individual branches of life. There are four primary categories: botany, human biology, microbiology and zoology.
Botany
This is the study of plants and all subcategories including algae, fungi and flowering plants.
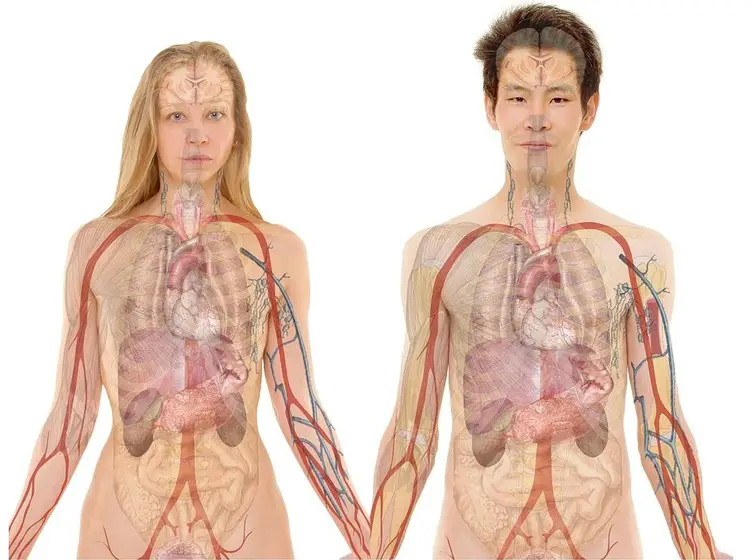
Human Biology
This is the branch of biology studying human physiology, evolution, genetics and culture.
Microbiology
This is the study of all living organisms that cannot be seen with the naked eye. This includes bacteria, viruses, fungi, prions and archaea.
Zoology
This is the study of all non-human members of the animal kingdom, including mammals, reptiles, fish, amphibians, birds and invertebrates.Within these four categories there are many subdivisions. They include:
Bacteriology
The study of bacteria and their interaction with other life forms.
Virology
The study of viruses and their interaction with other life forms.
Mycology
The study of fungi, their life cycle and interaction with the environment and other life forms.
Entomology
The study of insects and their interaction with the environment and other species of animals and plants.
Ichthyology
The study of fish and their interaction with their ocean and freshwater habitats.
Herpetology
The study of reptiles and amphibians.
Ornithology
The study of birds, their interaction with the environment and their unique bone structure that makes them capable of flight.
Conclusion
When you narrow down your focus from a biology major to the specific branches of biology you plan to major in, you will find that many opportunities will open for you. Not only are you able to tailor your classes to those relevant to your future career, but you’re also able to seek opportunities for hands-on study.An ichthyology major can talk to veteran ichthyologists at a major aquarium while a biotechnology major will find experts at a physical therapy clinic. Whatever your field of study, the more specific you are about your choice among the branches of biology the better equipped you will be to pursue your dream job.
Featured Image: Image by Gerd Altmann from Pixabay